Feature(may vary by option.)
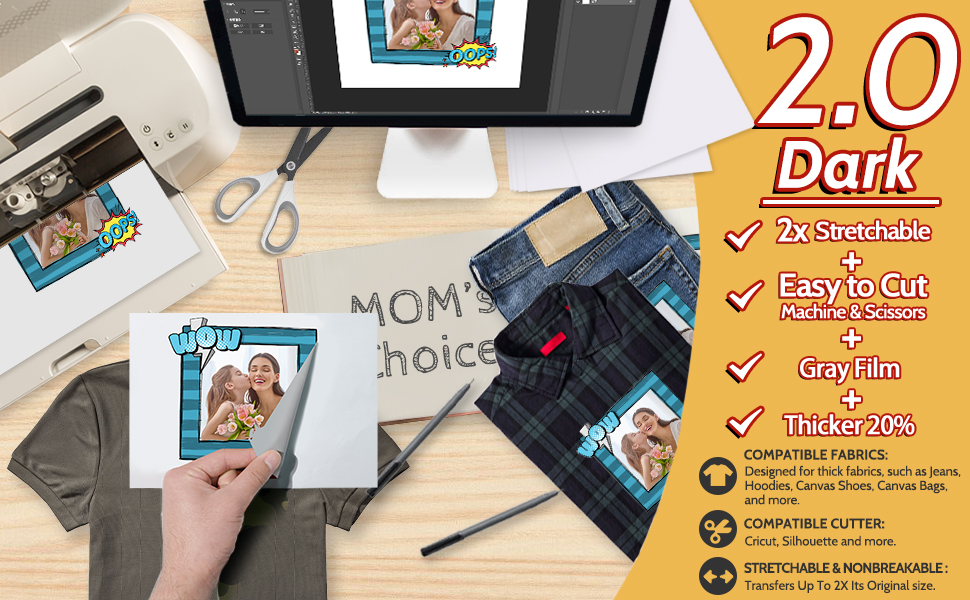
●💕BEST FOR THICK FABRICS: The Upgraded Dark Transfer Paper is best for thick fabrics - like Jeans, Hoodies, Canvas, Thick Cotton and more. Show your creativity in more materials with this printable iron on vinyl.Pack of 10 sheets Dark 2.0 transfer paper and 1 sheet reusable Teflon Paper.
●💕ADVANTAGES: Compatible with all Inkjet Printers, Dye Ink and Pigment Ink. It is easy to be cut by scissors, also compatible with all domestic or professial cutting machines which can compelete complex cutting. Bright and vivid after transfer. No cracking, No peeling, Durable and Long Lasting Transfer.Fully machine washable (Full Cycle and No tumbler dry).
●💕APPLICATIONS: The Upgraded Dark 2.0 Transfer Paper can transfer your design, text, images, photos and pictures to t shirts or thick fabrics. Make custom personalied DIY gifts to your friends or family on Mothers Day, Fathers Day, Birthday, Thanksgiving, Easter, Halloween, Christmas, Valentines Day or Wedding Day.
●💕EASY TO USE: [1] Print & Cut out the image. [2] Peel & Place the printed image facing UPWARD onto fabric and cover the image with Teflon Paper. [3] Transfer Image with Iron or Heat Press. [4] Remove the teflon paper. Transfer has been done! Step-by-step instructions are on the back of cover paper in the pack. Video tutorial is in Videos Section of this page for your reference.
●💕WHO ARE WE: We are a leading manufacturer with 20 years R&D, production and ODM experience (for many premium global brands) in heat transfer paper, waterslide decal paper and more. TransOurDream is one of our brands which is committed to offer high quality products for both home and professional users. Meanwhile we can help you build your own brand and print your logo on the backing of transfer paper. Any questions please dont hesitate to contact us.
[Glow2.0-10]

[Dark2.0-5]

[Glitter2.0-10]

[FX-10]

[Dark2.0-10]

Description


|
|
|
|
|---|---|---|
Iron - Transfer Steps
NOTES:
|
Easy Press - Transfer StepsTemperature and Time may vary based on easy heat press type and image size. Suggest you do a test before transfer onto t-shirts. For 8.5x11’’ size or A4 image, set temperature to 170℃(338℉) and time to 120 seconds.
|
Heat Press Machine - Transfer Steps
|


|
|
|
|
|---|---|---|
Step 1: PRINTPrint your design on the BLANK Side of transfer paper. Before Printing:
NOTES: Compatible with pigment ink, dye ink and ALL brands of Inkjet printers (HP, Cannon, Brothers and more). |
Step 2: CUT & PEEL
NOTES: Transfer Paper is composed of two layers - the BLANK film and the backing LOGO paper. |
Step 3: PLACE
|


|
|
|
|
|---|---|---|
Step 4: TRANSFERPlease refer to the specific operations for your ironing tool accordingly in the above figure.
|
Step 5: REMOVE TEFLON PAPERAfter ironing done, peel off teflon paper. |
STEP 6: DONECongratulations! Your DIY image transfer has been done. Enjoy! NOTES: Please wash the clothes after 48 hours with cold water and please DO NOT tumble dry. For Step-By-Step operations, please refer to video tutorial on this page. |


